Writing and Organizing Notes
A complete guide to creating, formatting, and organizing your notes in Lurna for better learning and faster studying.
1. Creating and Editing Notes
Notes are the core of your learning workflow in Lurna. You can create detailed, structured notes that the AI can easily convert into study material.
To create a new note:
- Open a course from your dashboard.
- Click the "New Note" button or use the "+" icon.
- Give your note a clear title (e.g., Chapter 3 - Cell Division).
- Start writing using headings, bullet points, or paragraphs.
Editing notes is easy:
- Click anywhere inside your note to begin editing.
- Highlight text to access AI tools such as "Summarize" or "Create Flashcards."
- Drag and reorder content blocks

2. Using Headings, Lists, Code Blocks, and Formatting
Formatting makes your notes easier to read and helps Lurna's AI generate better flashcards, quizzes, and summaries.
Available formatting tools:
- Headings: Use headings for chapters, sections, or topics. AI relies on headings to understand structure.
- Bullet & Numbered Lists: Great for definitions, terms, steps, or quick summaries.
- Bold & Italic Text: Highlight key terms or important phrases.
- Code Blocks: Useful for programming notes or formatting long text.
- Images & Figures: Add lecture screenshots, diagrams, or charts to support understanding.
Why formatting matters:
- AI can better detect topic boundaries.
- Flashcards become more accurate.
- Quizzes are more reflective of your note structure.
- You review more efficiently.
3. Search Tips: Finding Notes Fast
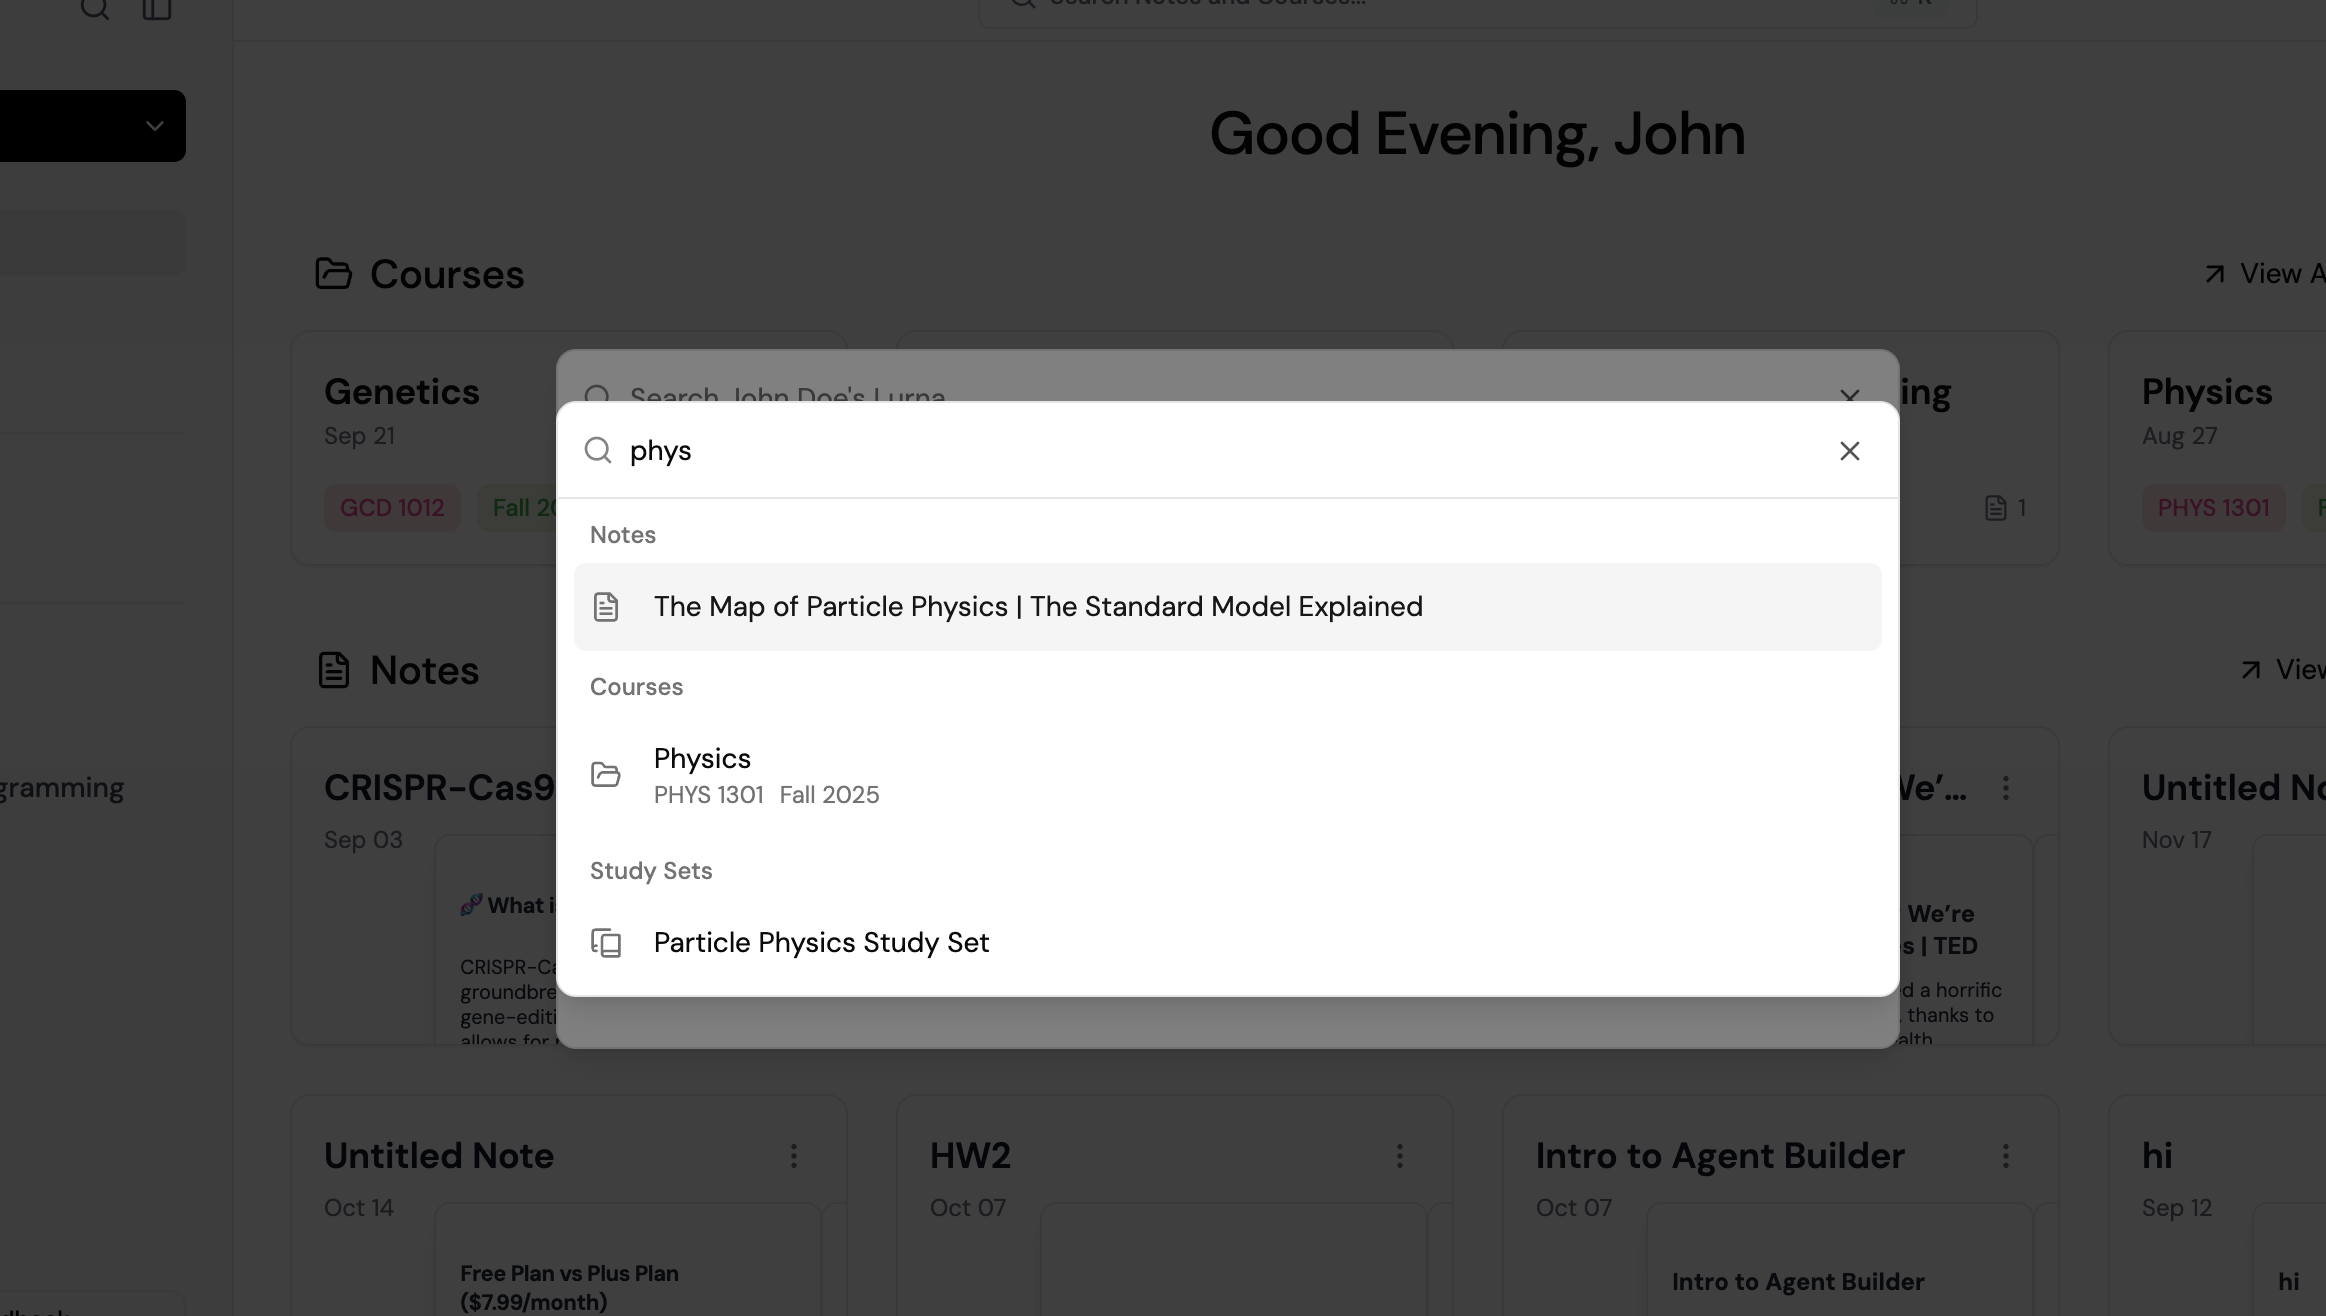
Lurna’s search helps you quickly locate notes, titles, keywords, and even content inside AI-generated study sets.
How to search:
- Use the search bar in the top toolbar.
- Type keywords, terms, or phrases from your notes.
Pro tips:
- Search for course names to find notes under specific courses
- Use partial words if you're unsure of spelling (e.g., "mito" for "mitochondria").